Contest Environment
Below you’ll find the hardware and software setup planned for IOI 2025.
Details may change as the event approaches.
Hardware
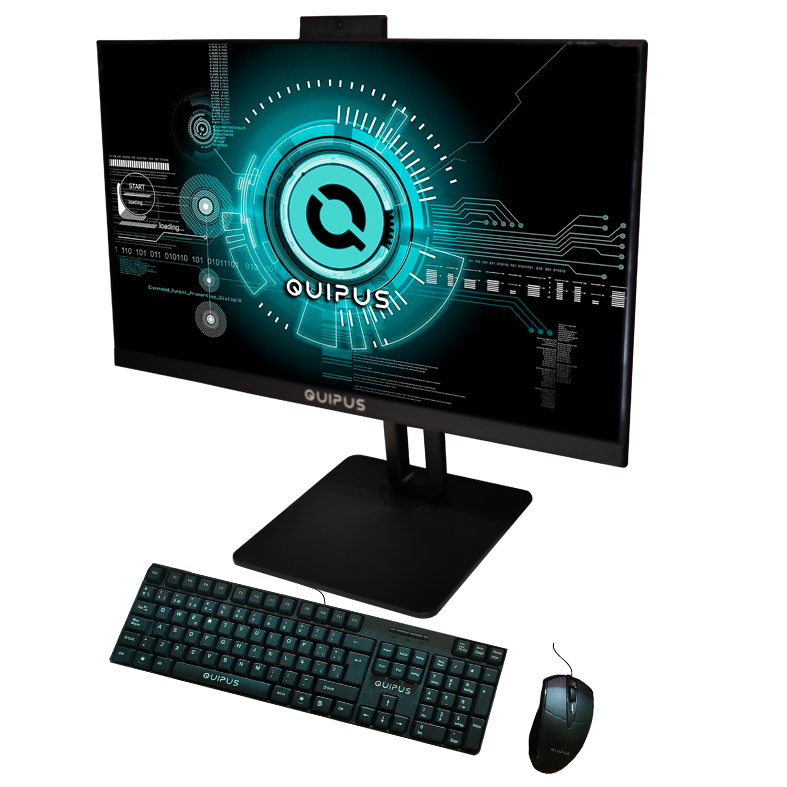
Each contestant receives a Quipus All-in-One workstation with the components shown below:
| CPU | Intel Core i9-13900H |
|---|---|
| Graphics | Intel UHD Graphics |
| RAM | 16 GB DDR4 |
| Storage | 1 TB NVMe SSD |
| Display | 23.8″ IPS FHD (1920 × 1080) |
| Keyboard | USB US-layout |
| USB Ports | 2 × USB 3.1 | 2 × USB 3.0 | 2 × USB 2.0 |
| Mouse | USB optical |
You may bring your own keyboard and mouse, provided they do not use wireless connectivity and do not retain programmable settings when unplugged (see Contest Rules).

Software Stack
The following minimum versions will be installed on every machine. A pre-release virtual machine will be available for practice.
| Category | Tool / Resource | Version / Notes |
|---|---|---|
| Operating System | Ubuntu | 24.04.2 LTS (6.8.0-57) |
| Compiler | GCC | 13.3.0 |
| Text Editors / IDEs | Atom | 1.60.0 |
| Eclipse | 2025-03 | |
| Geany | 2.0 | |
| Emacs | 29.3 | |
| Joe | 4.6 | |
| Kate | 23.08.5 | |
| KDevelop | 5.12.230805 | |
| Nano | 7.2 | |
| Neovim | 0.11.0 | |
| Sublime Text | Build 4192 | |
| Vim | 9.1 | |
| Visual Studio Code | 1.99.2 | |
| C++ Extension (VS Code) | 1.24.5 | |
| Debuggers | DDD | 3.3.12 |
| GDB | 15.0.50-20240403-git | |
| Valgrind | 3.22.0 | |
| Interpreters | Python | 3.12.3 |
| Ruby | 3.2.3 | |
| Documentation | C/C++ Reference | Offline HTML |
| Python 3 | Offline HTML | |
| Other Apps | Byobu | 6.11 |
| Firefox | 137.0.1 | |
| GNOME Terminal | 3.52.0 | |
| Konsole | 23.08.5 |
Note ▸ Code::Blocks is not provided due to stability issues.
Virtual Machine
The IOI 2025 VM will help contestants familiarise themselves with the full software environment. It will not be used onsite — machines will run the same OS natively. Please avoid reporting issues related to virtualisation or performance.
- Issue tracker: github.com/ioi-2025/contestant-vm/issues
- Releases: github.com/ioi-2025/contestant-vm/releases
- Requirements ▸ VMware Workstation Player 16/17 or VirtualBox. Last Virtual Machine Release
Importing the VM
- Open VMware Workstation Player → Open a Virtual Machine.
- Select the
.ovafile, click Open, then Import. - (Optional) rename the VM or change its storage path.
- Once imported, select the VM and click Play Virtual Machine.

